
What are Walter Russell’s diagrams trying to show you?
Learn to read Russell’s diagrams and understand how his ideas connect. Deepen your exploration of nature, life, and your place in the universe.



More questions than answers?
Watch the course introduction · 1:37
“Tim Gillespie gives an excellent summary and step by step explainer of light wave mechanics … I highly recommend this course!”
What’s happening inside the Octave Wave?
Start with one diagram. Follow it through with Tim Gillespie.
Trace the movement from Russell’s wave diagram into his painting: where it begins, why it flows both ways, and what happens where the two sides meet.
Free mini-lesson + guide.
 Mini-lesson 8:11
 Interactive cone guide
Watch an eight-minute passage from Lesson 1, then explore the diagram with an interactive study guide featuring Tim Gillespie’s audio.
Get the mini-lesson and interactive guide, plus three emails to help you explore Light Wave Mechanics.
Your lesson and guide are ready to explore below.
Your Lesson 1 sample.
Your lesson player will open here.
Let’s look at those cones together.
Walk through this part of the lesson at your own pace, with diagrams and short audio clips from Tim.
Want Tim to walk you through the rest?
Give your questions a course to follow.
Beginning with the Octave Wave, Tim Gillespie walks you through the foundations of Russell’s scientific work—helping you follow the diagrams and understand how each concept connects to the next.
Study in order, then return to individual lessons as your reading raises new questions.
Open a lesson to see what you’ll explore.
Learn the visual language
Lessons 1–3
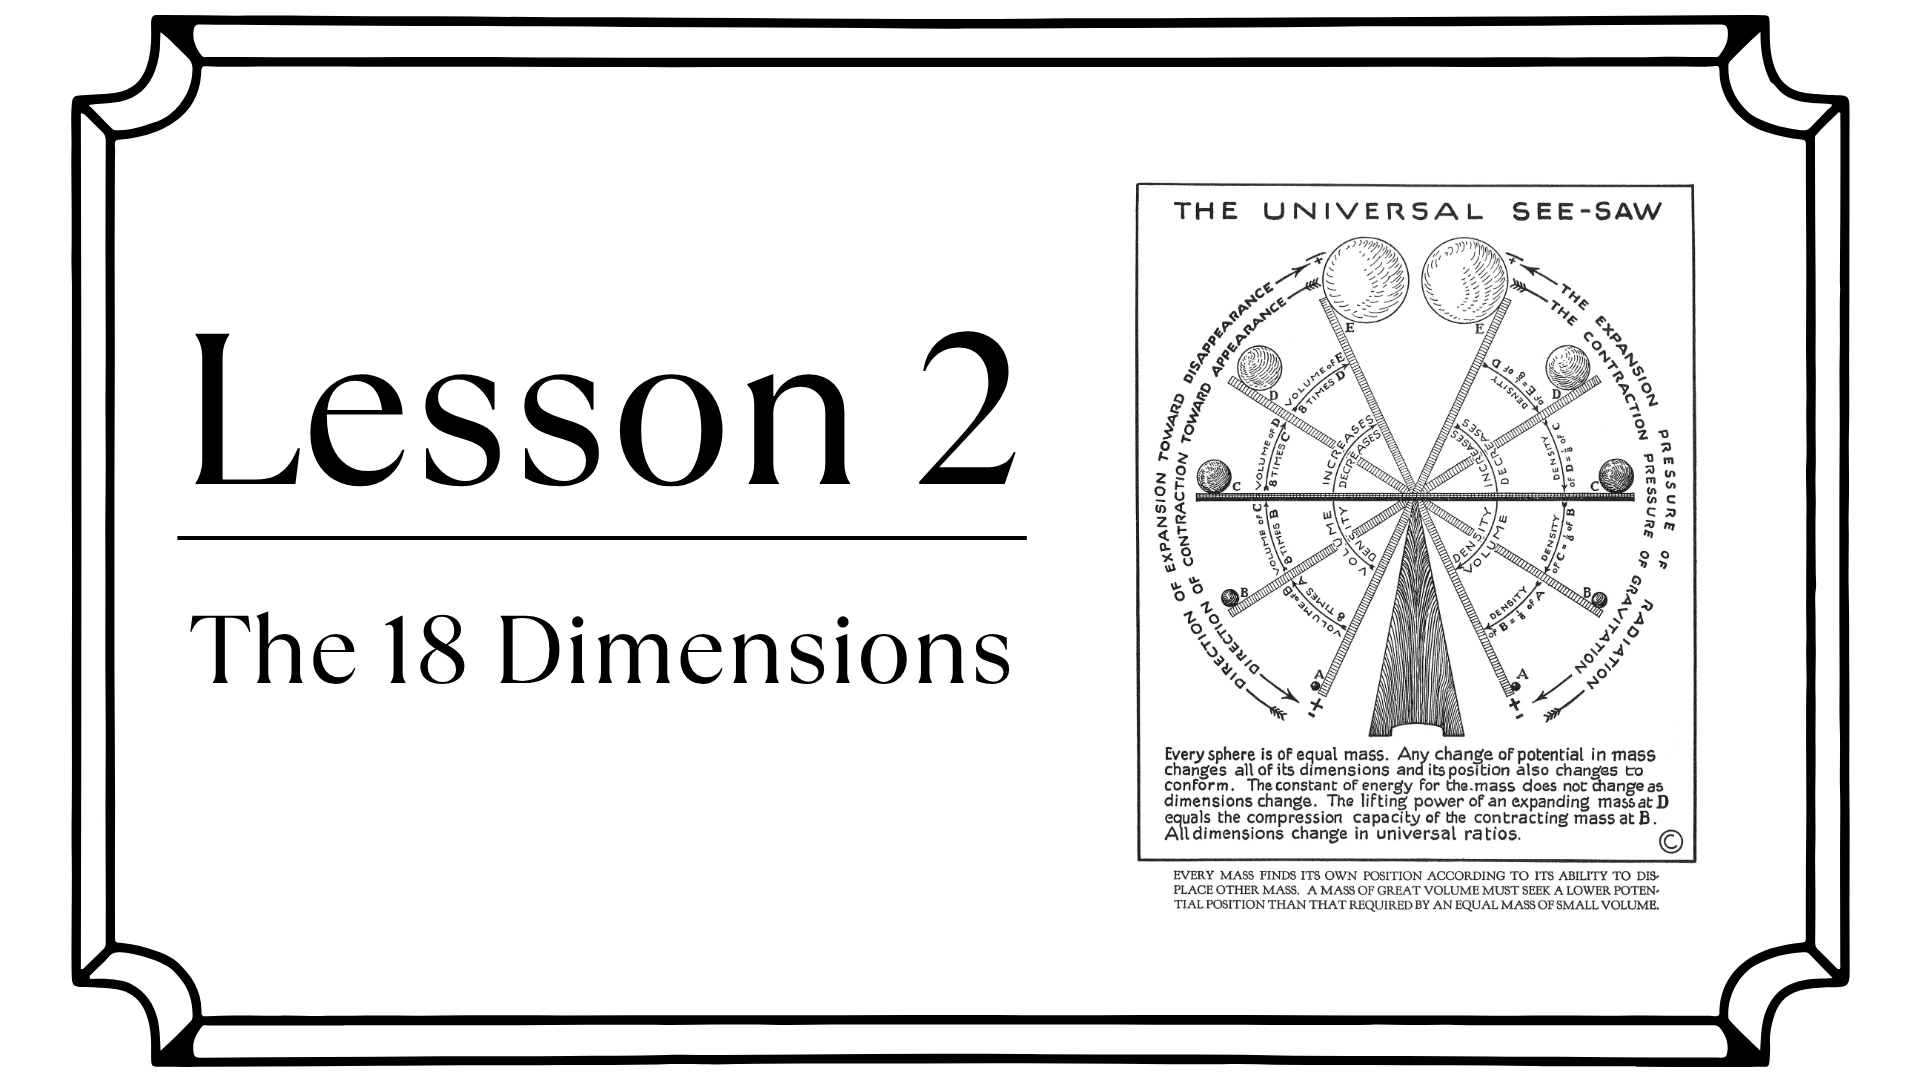
Begin with the Octave Wave, the eighteen dimensions and what Russell means by Light.
Follow the connections
Lessons 4–9
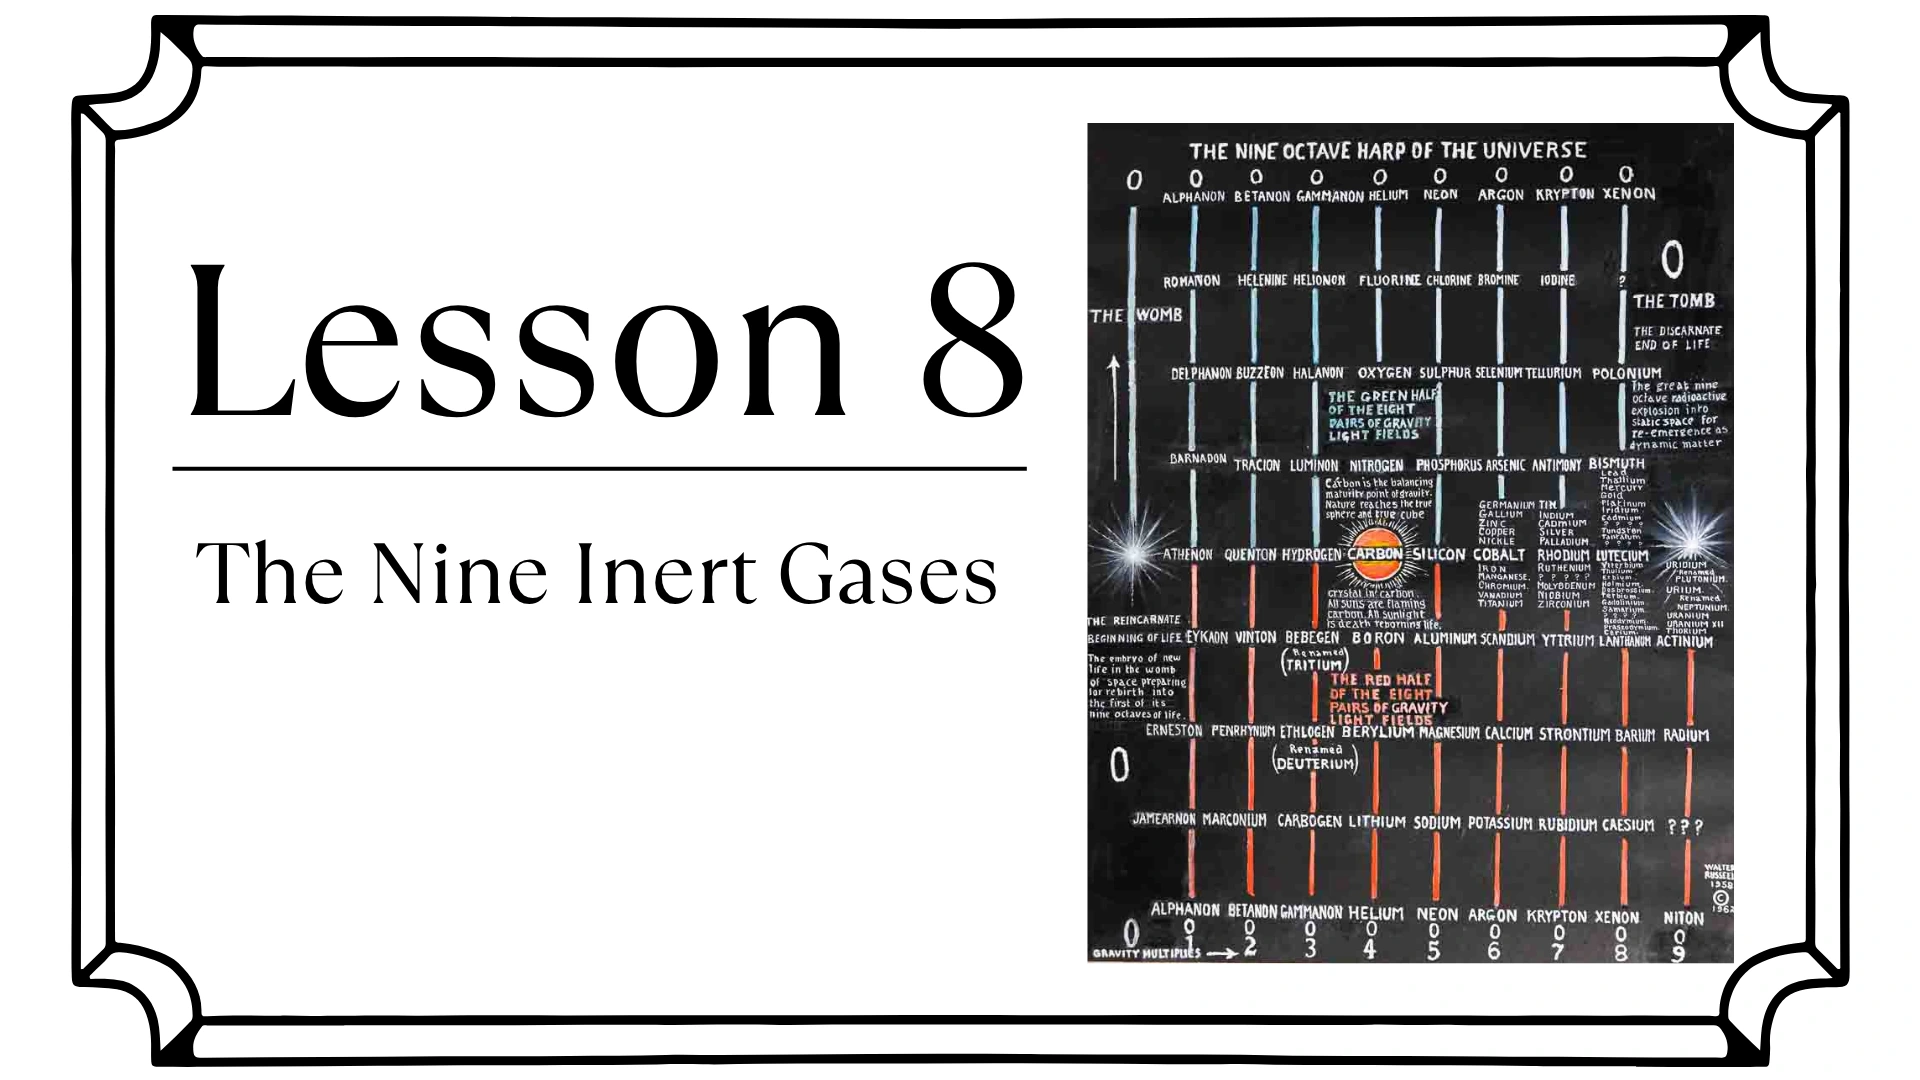
Explore the solar system, periodic chart, universal mathematics, inertial planes, inert gases and Mind.

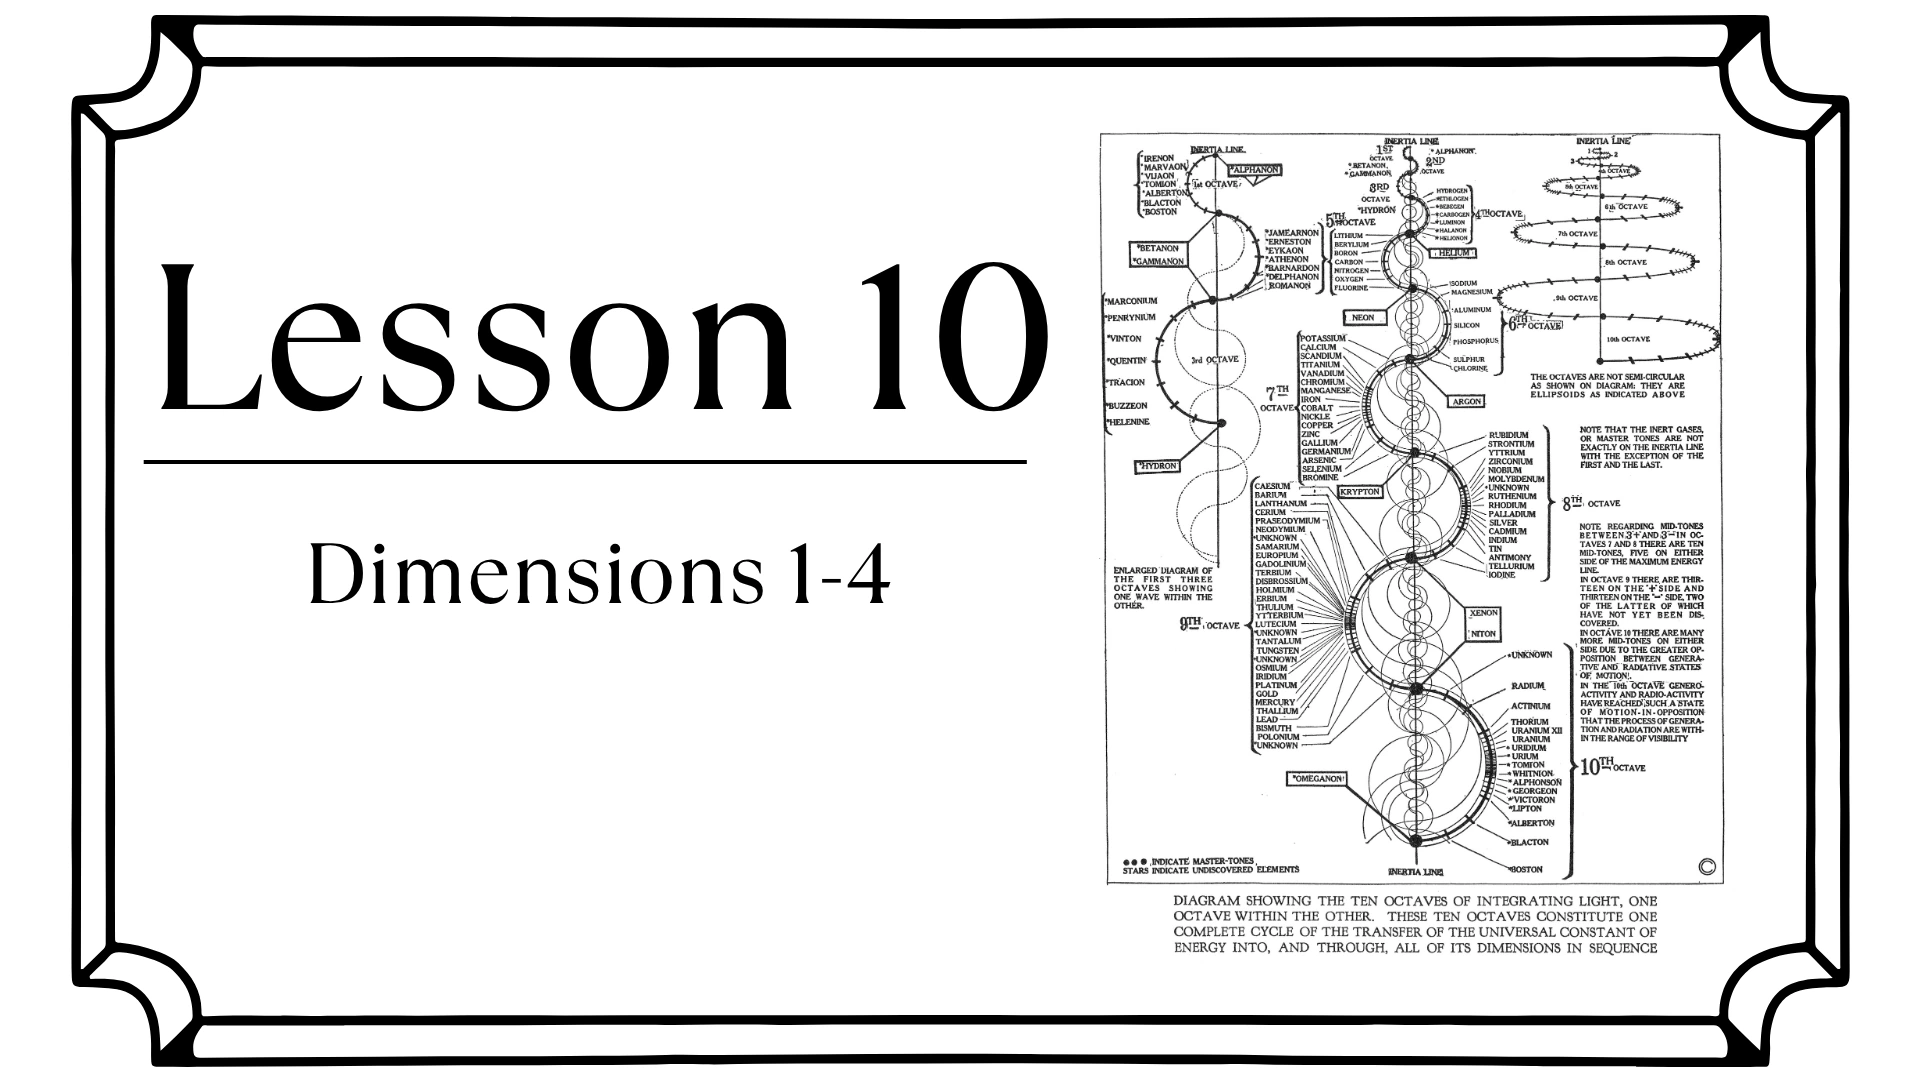
Examine the dimensions
Lessons 10–14
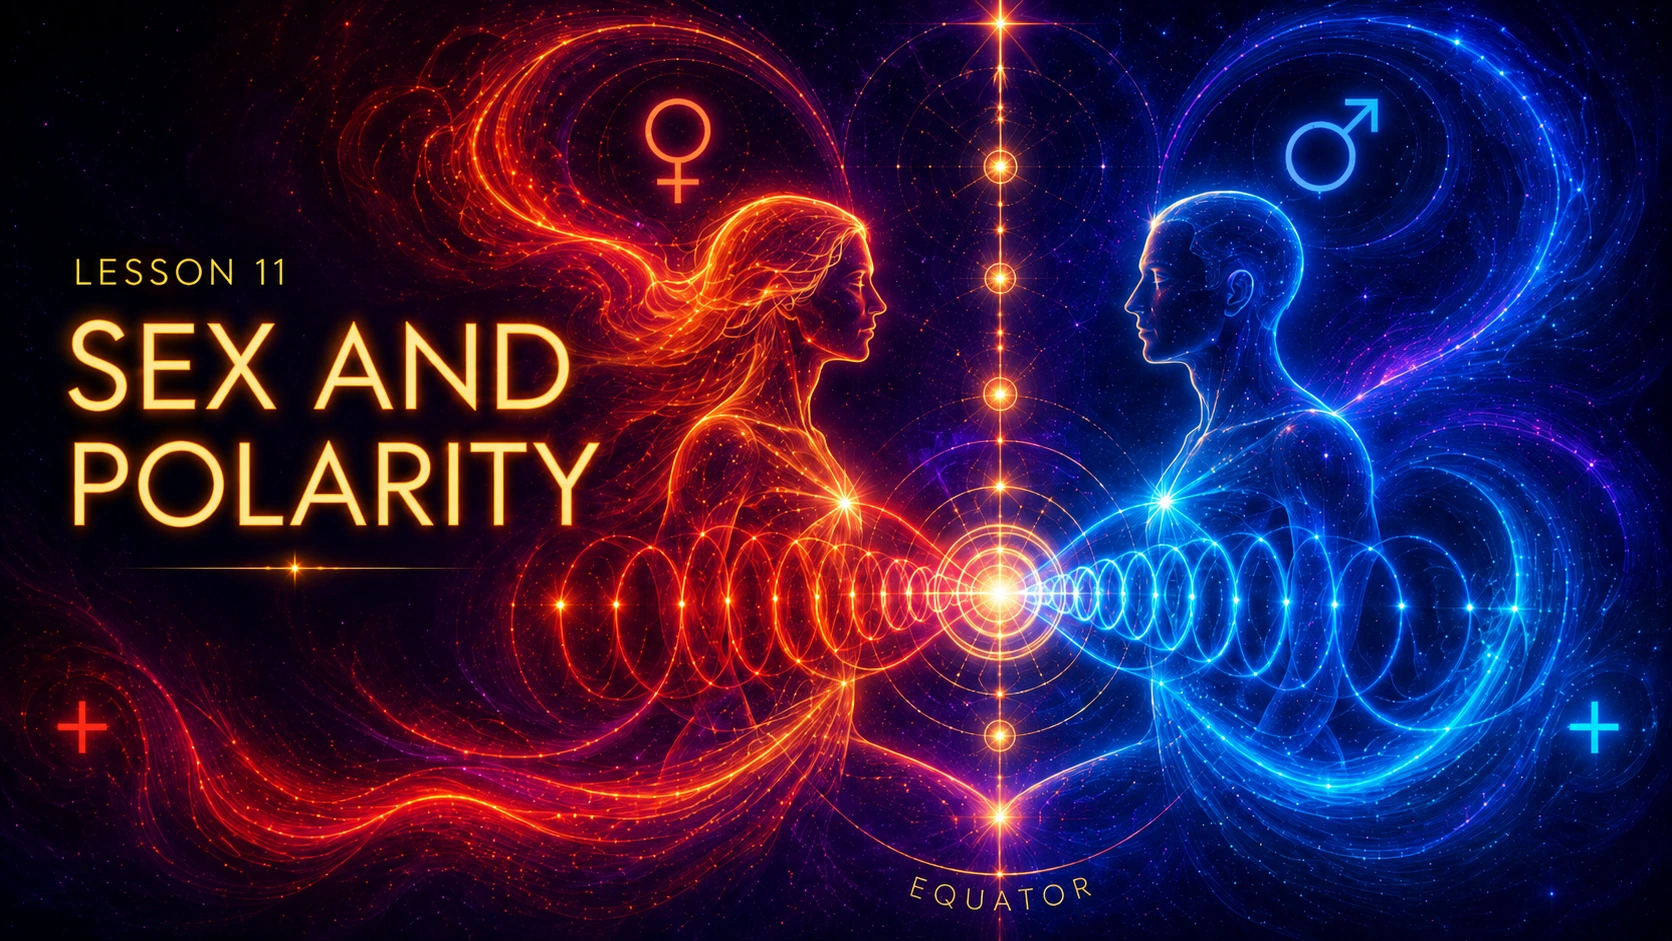
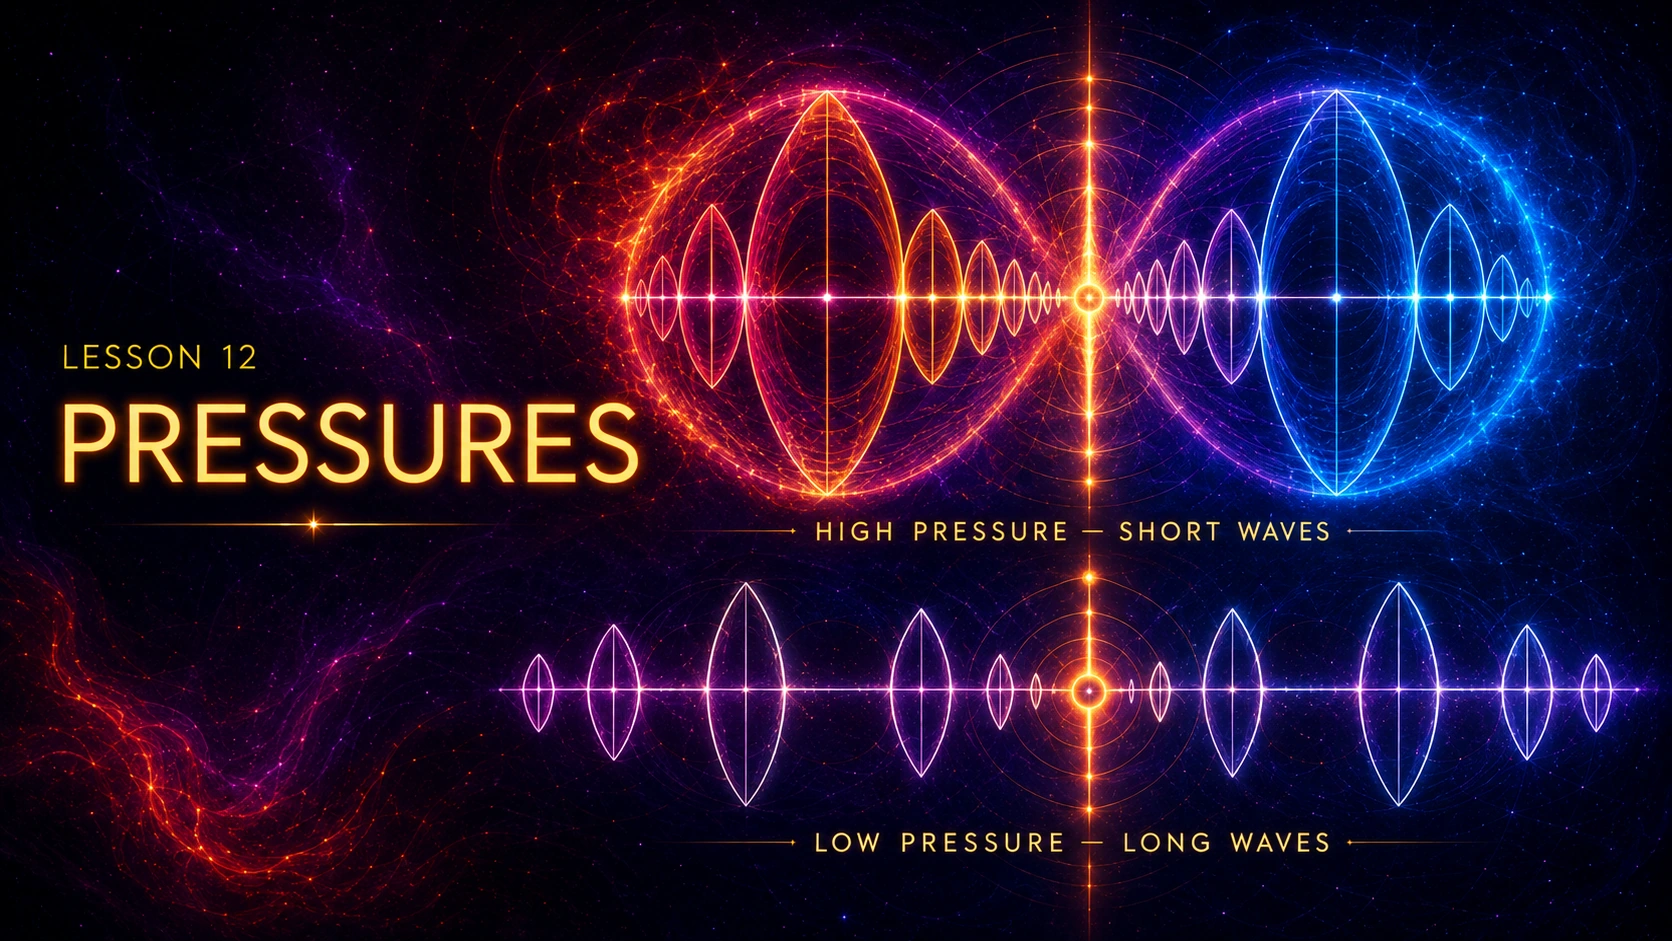
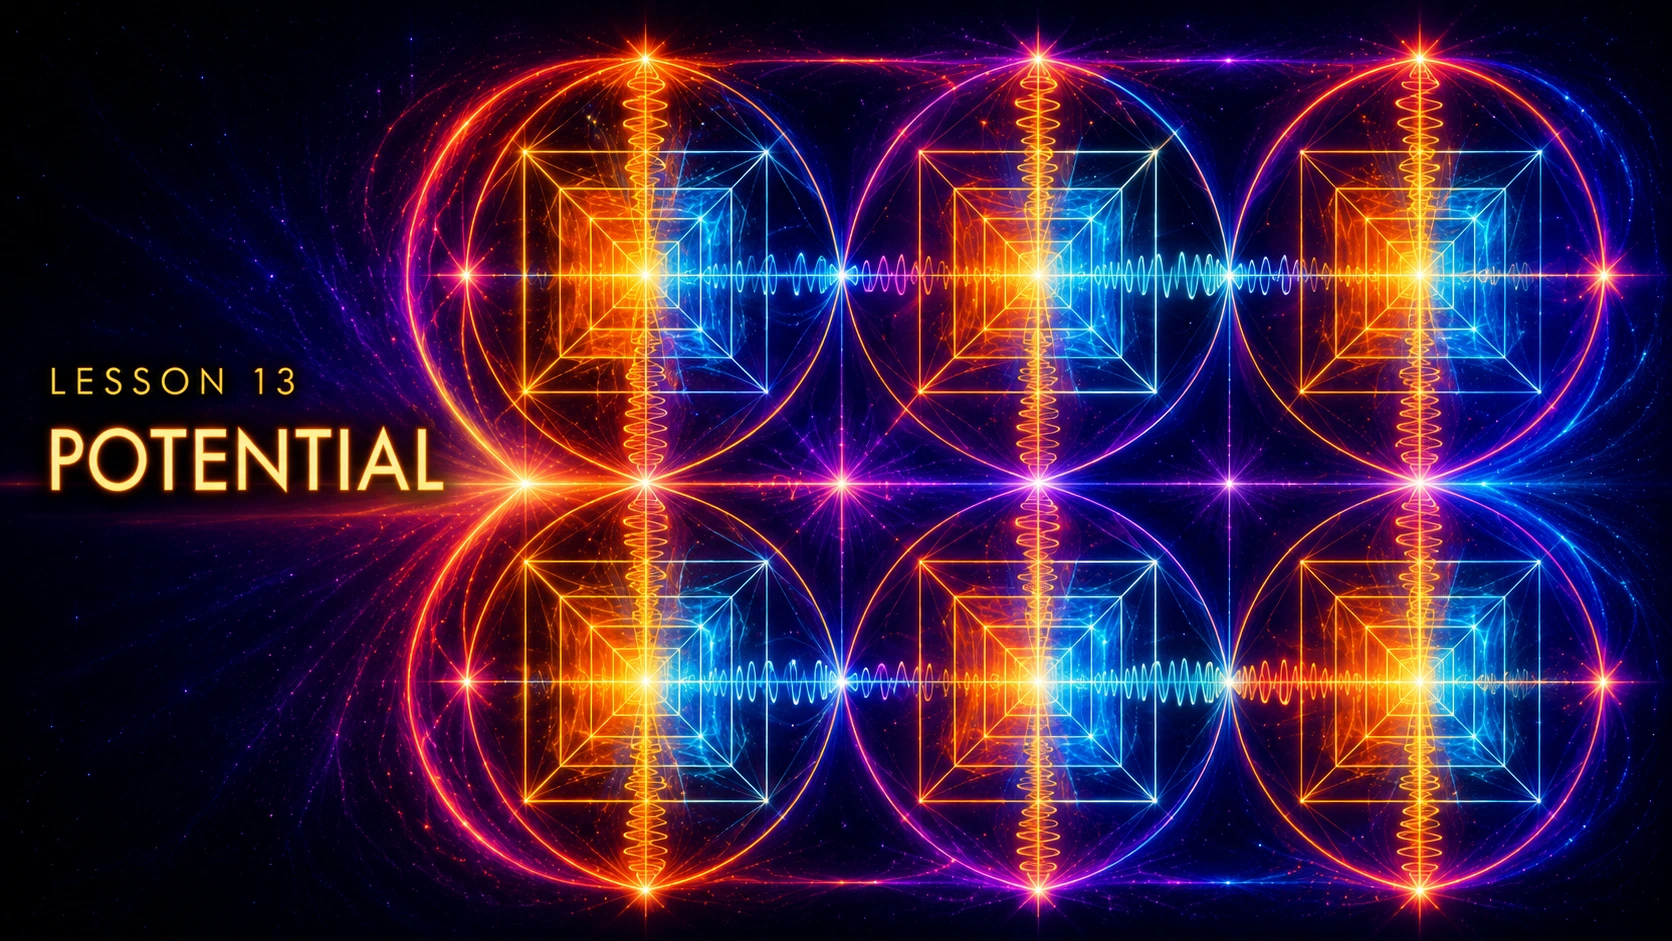
Take a closer look at length, time, polarity, pressure and potential. Darren Colomb concludes the series.
FIRST IMPRESSIONS
“I have just started the Light Wave Mechanics Series. The video presentations, PDF notes, and powerpoint slides provide a comprehensive, easy-to-follow format.”
Continue your study with the full series.
Continue beyond the Octave Wave into Russell’s periodic chart, mathematics, and ideas about Mind—with recorded explanations and downloadable materials to revisit at your own pace.


- Fourteen lessons, connection by connection. Study with Tim Gillespie, with Darren Colomb presenting the final lesson.
- Downloadable materials to study alongside the videos. Refer to the lesson PDFs as you watch, with slide decks also available for selected lessons.
- The original discussions and Q&A. Follow the questions participants raised and the explanations that followed—not just the prepared presentation.
- Time to work through what matters to you. Pause, replay a passage, and return to earlier lessons as your understanding develops.
Your course is hosted in the USP HUB, home to the University’s wider student community.
$250 USD One-time payment
Enroll in the seriesYou’ll continue to USP’s Mighty Networks to enroll. Your one-time purchase includes access with no expiration date. All sales are final; refunds are not available. Final total is shown at checkout.
Already enrolled? Open your course
Before you decide.
Have a question about the course?
Ask the USP team →
I keep returning to Russell’s work, but I still struggle to follow it. Is this for me?
You may have spent years reading Russell and still find the diagrams difficult to follow. The series returns to the foundations, giving you a guided way to deepen your understanding.
I already have a PDF of Russell’s work. What would the course add?
Having the text is different from being able to follow the diagrams. Tim Gillespie walks through them, explaining how the parts connect—so you can compare his explanation with what you’re seeing.
The series includes fourteen recorded lessons, the original discussions and Q&A, and downloadable lesson PDFs, with slide decks available for selected lessons. Pause an explanation, refer to the supporting material, and replay the parts you want to understand more clearly.
Start with the free Lesson 1 sample to see whether this approach helps you make sense of a diagram you’ve struggled with.
Would it help to have Russell’s books alongside me?
Yes. Having Russell’s books nearby can help you compare Tim’s explanations with the original passages and diagrams, then carry those connections into your own reading.
The course includes downloadable lesson PDFs, with slide decks available for selected lessons. These are supporting course materials—not copies of Russell’s books.
What if an explanation doesn’t click the first time?
You don’t have to move on before you’re ready. Pause the recording, refer to the downloadable lesson PDF or slides where available, then replay the passage with the diagram in front of you. Return to earlier lessons whenever you need to revisit a connection.
Can I experience the teaching before I enroll?
Yes. Sign up for the free eight-minute sample from Lesson 1 and watch it right here on this page, in its original course presentation. You’ll also get an interactive companion guide with Tim Gillespie’s audio to help you explore the diagram. See whether his way of explaining helps you follow what you’re looking at before deciding to enroll.
How long will I have access? Can I get a refund?
Your one-time purchase gives you ongoing access to the full series, with no expiration date. All sales are final; refunds are not available.
You can watch the free Lesson 1 sample before purchasing to see whether the teaching is right for you.

There’s a reason you keep coming back to Russell.
Take your questions into the full series. Follow the diagrams with Tim Gillespie, and return to the explanations as your study deepens.
Enroll in the series$250 USD · One-time payment
Still deciding? Watch the free eight-minute mini-lesson.